Quick Answer
This guide ranks the best microgreen growing kits — comparing Bootstrap Farmer trays, True Leaf Market starter kits, and budget alternatives — to help you evaluate what is included, seed variety quality, and real cost per tray. --- What should you look for when buying a microgreen growing kit? Microgreens are among the fastest and most rewarding crops an urban…
Some links in this article are affiliate links. If you purchase through them, we may earn a small commission — at no extra cost to you.
This guide ranks the best microgreen growing kits — comparing Bootstrap Farmer trays, True Leaf Market starter kits, and budget alternatives — to help you evaluate what is included, seed variety quality, and real cost per tray.
What should you look for when buying a microgreen growing kit?
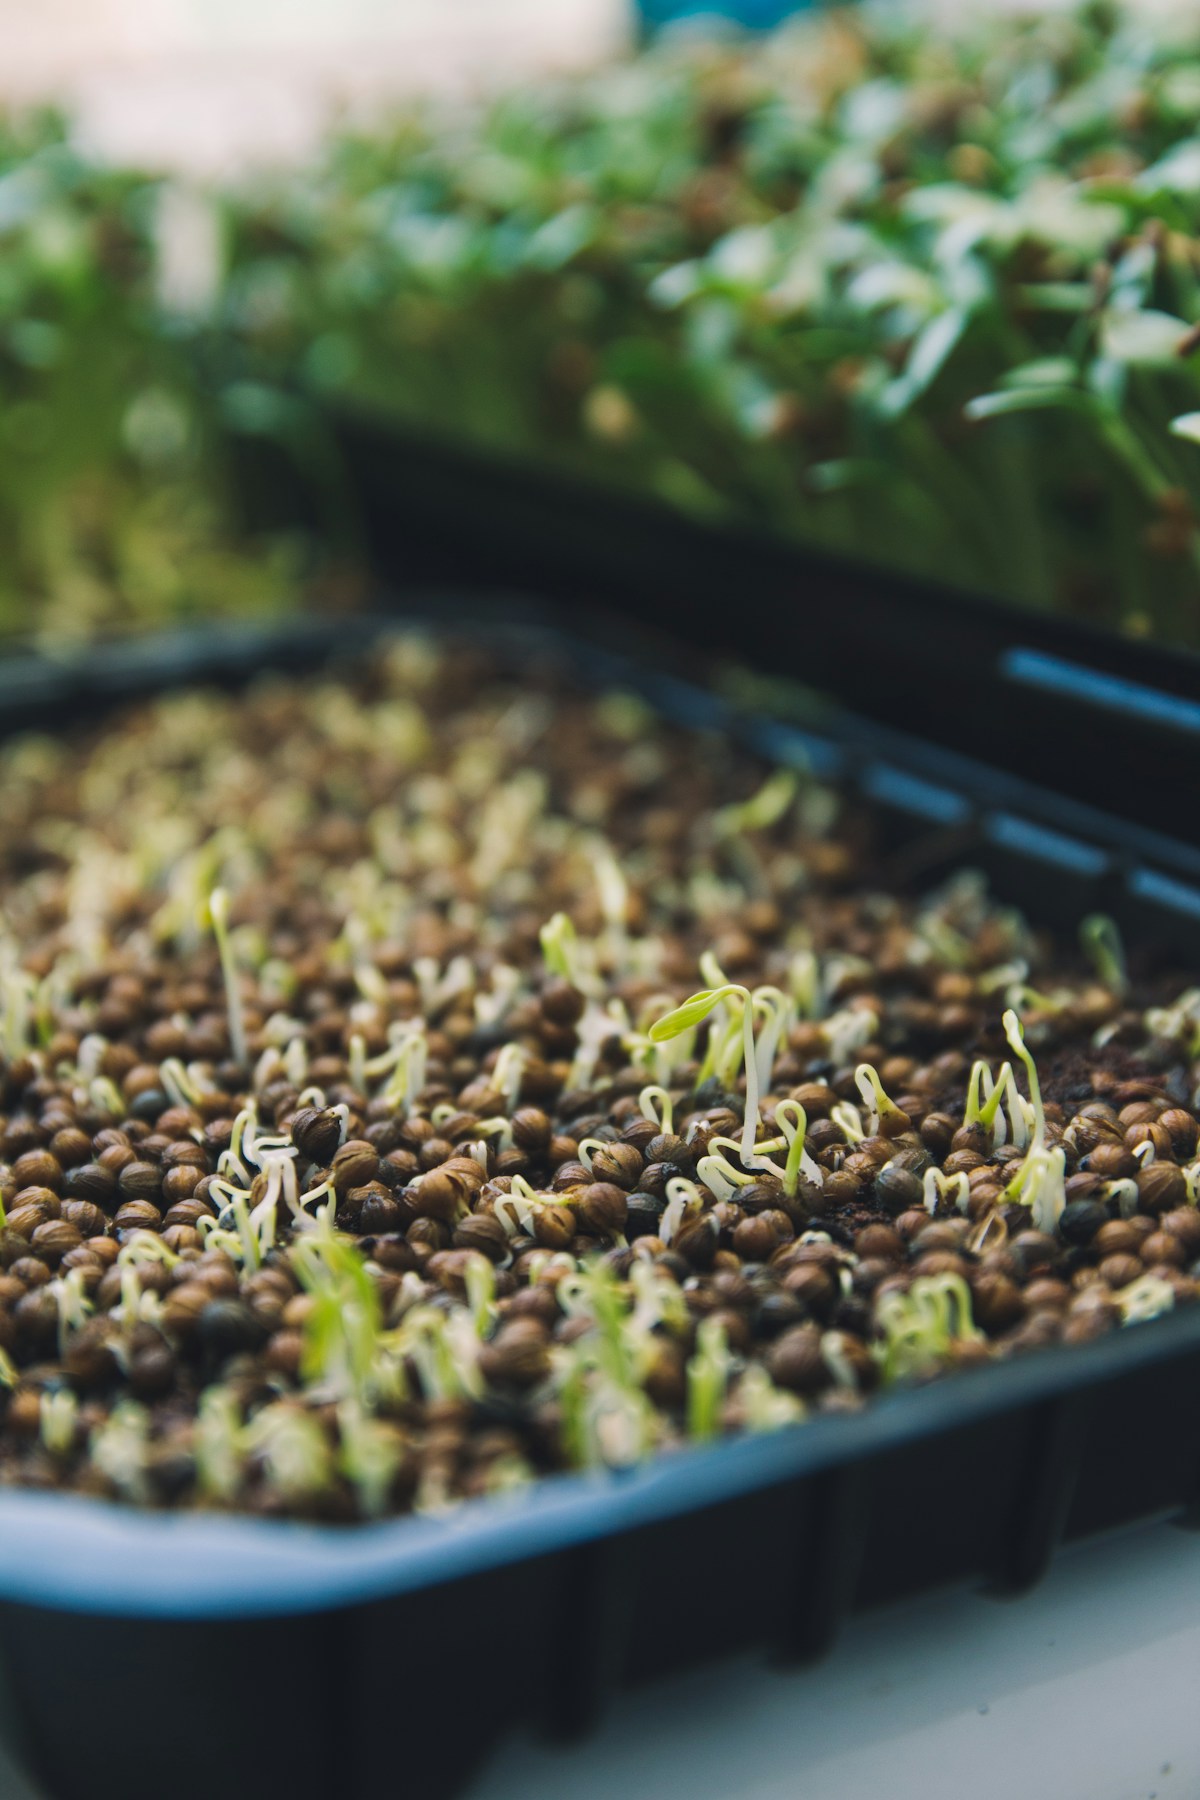
Microgreens are among the fastest and most rewarding crops an urban farmer can grow — most varieties reach harvest in 7–14 days. A good starter kit removes the guesswork about tray sizing, growing medium, and seeding density, but the differences between kits are significant.
Tray quality and sizing. The standard microgreen tray is a 10×20 inch flat. Thicker, food-grade plastic trays (1020 trays) last hundreds of uses. Thin, flimsy trays crack after a few grows and end up being replaced frequently, costing more in the long run. Look for trays described as 5-mil or 10-mil thickness. Bootstrap Farmer is known for producing the thickest, most durable trays on the market.
Growing medium. Kits use either soil/compost mixes, coco coir, or hydroponic growing pads (hemp fiber or burlap mats). Soil-based grows are typically more forgiving and better for seed germination. Hydroponic pads (like those from True Leaf Market) are cleaner, faster to set up, and produce cleaner harvests. Both work — choose based on your preference for mess tolerance.
Seed variety and quantity. A good starter kit includes a range of varieties to help you learn which crops grow best in your environment. Radish, sunflower, pea shoots, and broccoli microgreens are the easiest starting varieties. Seed quality is critical — microgreen seeds must be untreated (no fungicide coatings) and ideally certified organic or non-GMO.
What is included. True turnkey kits include trays, growing medium, seeds, and instructions. Some "kits" are just a tray and a bag of seeds with no growing medium or humidity dome. Read the contents carefully before purchasing.
Cost per tray over time. A tray of microgreens uses roughly 1–2 oz of seed for most varieties. Factoring seed cost + growing medium cost + tray amortization gives you the true cost per tray. Buying seeds in bulk from True Leaf Market or Bootstrap Farmer dramatically reduces ongoing costs vs buying small retail seed packets.
What are the best microgreen growing kits in 2026?
| Product | Tray Quality | Medium | Seeds Included | Price | Cost per Tray | Rating |
|---|---|---|---|---|---|---|
| Bootstrap Farmer Premium Starter Kit | 10-mil heavy duty | Coco coir | Yes (multiple varieties) | ~$75 | ~$3–5 | 4.8/5 |
| True Leaf Market Microgreen Starter Kit | Standard 1020 | Hemp grow pads | Yes (5–10 varieties) | ~$45 | ~$4–6 | 4.7/5 |
| Hamama Microgreen Kit | Proprietary tray | Seed quilts (all-in-one) | Yes (in quilts) | ~$55 (starter) | ~$6–8 per quilt | 4.4/5 |
| Johnny's Selected Seeds Microgreen Kit | Standard 1020 | Coco coir discs | Yes (professional varieties) | ~$65 | ~$4–7 | 4.5/5 |
| Generic Amazon Microgreen Kit | Thin 1020 | Soil mix | Yes (limited varieties) | ~$20–30 | ~$5–10 (trays replace often) | 3.5/5 |
Bootstrap Farmer Premium Starter Kit is the top choice for anyone serious about microgreens as a regular practice. Bootstrap Farmer's 10-mil trays are the thickest commercially available and last for years of daily use. The kit includes both solid bottom (for bottom-watering) and mesh insert trays, coco coir growing medium, a selection of seeds, and a humidity dome. Everything needed to grow 3–4 trays simultaneously from day one.
True Leaf Market Microgreen Starter Kit is the best introduction for beginners focused on simplicity. True Leaf Market specializes entirely in microgreen and sprouting supplies, and their kits are well-curated. The hemp fiber growing pads are particularly beginner-friendly — pre-cut to size, no mess, no measuring — and produce cleaner harvests than soil-based grows. True Leaf Market also maintains a large seed catalog, making it easy to expand variety once you've mastered the basics.
Hamama Microgreen Kit uses a unique "seed quilt" system where seeds are pre-embedded in a fibrous grow pad. You add water, cover, and return to a ready-to-harvest tray in 7–10 days. The system is extremely beginner-friendly but the ongoing cost of purchasing quilts is higher than buying seeds and growing medium separately. It is the most convenient option but least cost-effective at scale.
Johnny's Selected Seeds is a professional seed company serving commercial microgreen growers. Their starter kit uses professional-grade varieties bred for uniformity and flavor. Slightly higher cost upfront, but the seed genetics and germination rates are excellent.
How do microgreen kits compare for beginners vs advanced growers?
Beginners should start with the Hamama or True Leaf Market kit. Hamama's seed quilt system is foolproof — there is almost nothing that can go wrong if you follow the simple instructions. True Leaf Market's kit offers more variety and the hemp pads make the process clean and approachable.
Intermediate growers who have completed a few trays and want to optimize quality and cost should transition to Bootstrap Farmer trays with bulk seed purchases. At this stage, buying seeds in 1–5 lb bags from True Leaf Market or Bootstrap Farmer reduces seed cost by 60–80% compared to retail packets, and the heavy-duty trays pay for themselves over dozens of grows.
Commercial and serious hobbyist growers standardize on Bootstrap Farmer trays (both the heavy-duty 1020s and the specialized microgreen trays with drainage channels), buy seeds in bulk (5–25 lb bags of radish, sunflower, and pea for staple production), and often grow on multi-tier wire shelving units with T5 or LED strip lighting.
Are there budget microgreen kit options worth considering?
Yes — microgreens are actually one of the categories where budget options perform adequately, because the growing conditions required are simple.
Inexpensive growing setups can be built from items you may already have: any shallow tray with drainage holes, potting soil or coco coir, seeds from a garden center or health food store (unseasoned, untreated seeds work fine). The total cost for your first tray of radish microgreens can be as low as $3–5 if you source components separately.
Budget kits from Amazon in the $20–30 range typically include thin trays that crack after 5–10 uses, small amounts of low-quality soil mix, and a small seed assortment. They work for a first-time grow, but the economics of repeatedly replacing cracked trays make them more expensive over time than investing once in Bootstrap Farmer trays.
The best budget strategy is to buy Bootstrap Farmer trays once ($15–25 for a set of 5 heavy-duty trays) and source seeds and coco coir separately in bulk. This gives you professional-grade tools with commodity-priced consumables.