Quick Answer
Microgreens are harvested at the cotyledon or first true-leaf stage — 7 to 14 days after sowing — and deliver 4 to 40 times the nutrient density of their mature counterparts. No growing experience, specialist equipment, or artificial lighting beyond a bright windowsill is required. --- What exactly are microgreens? Microgreens occupy the developmental window between sprouting and baby greens.…
Microgreens are harvested at the cotyledon or first true-leaf stage — 7 to 14 days after sowing — and deliver 4 to 40 times the nutrient density of their mature counterparts. No growing experience, specialist equipment, or artificial lighting beyond a bright windowsill is required.
What exactly are microgreens?
Microgreens occupy the developmental window between sprouting and baby greens. Unlike sprouts (grown in water, no substrate, eaten root-to-tip), microgreens are grown in a thin layer of medium, harvested by cutting above the stem, and represent only the above-ground seedling.
The nutritional significance of this stage is well-documented. A landmark 2012 study published in the Journal of Agricultural and Food Chemistry (Xiao et al.) measured 25 microgreen varieties against their mature counterparts and found that 21 of 25 had higher concentrations of vitamins C, E, K, and carotenoids. Increases were not marginal: red cabbage microgreens contained 40 times more vitamin E and 6 times more vitamin C than mature red cabbage. The seedling is biochemically front-loading resources for growth — harvesting at this stage captures that nutrient peak.
The practical advantages compound the nutritional case: a 30×20cm tray produces a harvest in 7–12 days, requires no nutrients in most systems, and can be grown on a kitchen counter.
How do you sow microgreens?
Seeding density is the most common beginner error — too sparse and yields are low; too dense and mould risk spikes.
General seeding rates by category:
| Seed Category | Examples | Soak Before Sowing? | Seeding Rate (per 30×20cm tray) |
|---|---|---|---|
| Small (mucilaginous) | Basil, chia | No (clump when wet) | 5–8g |
| Small (standard) | Broccoli, radish, mustard | No | 10–15g |
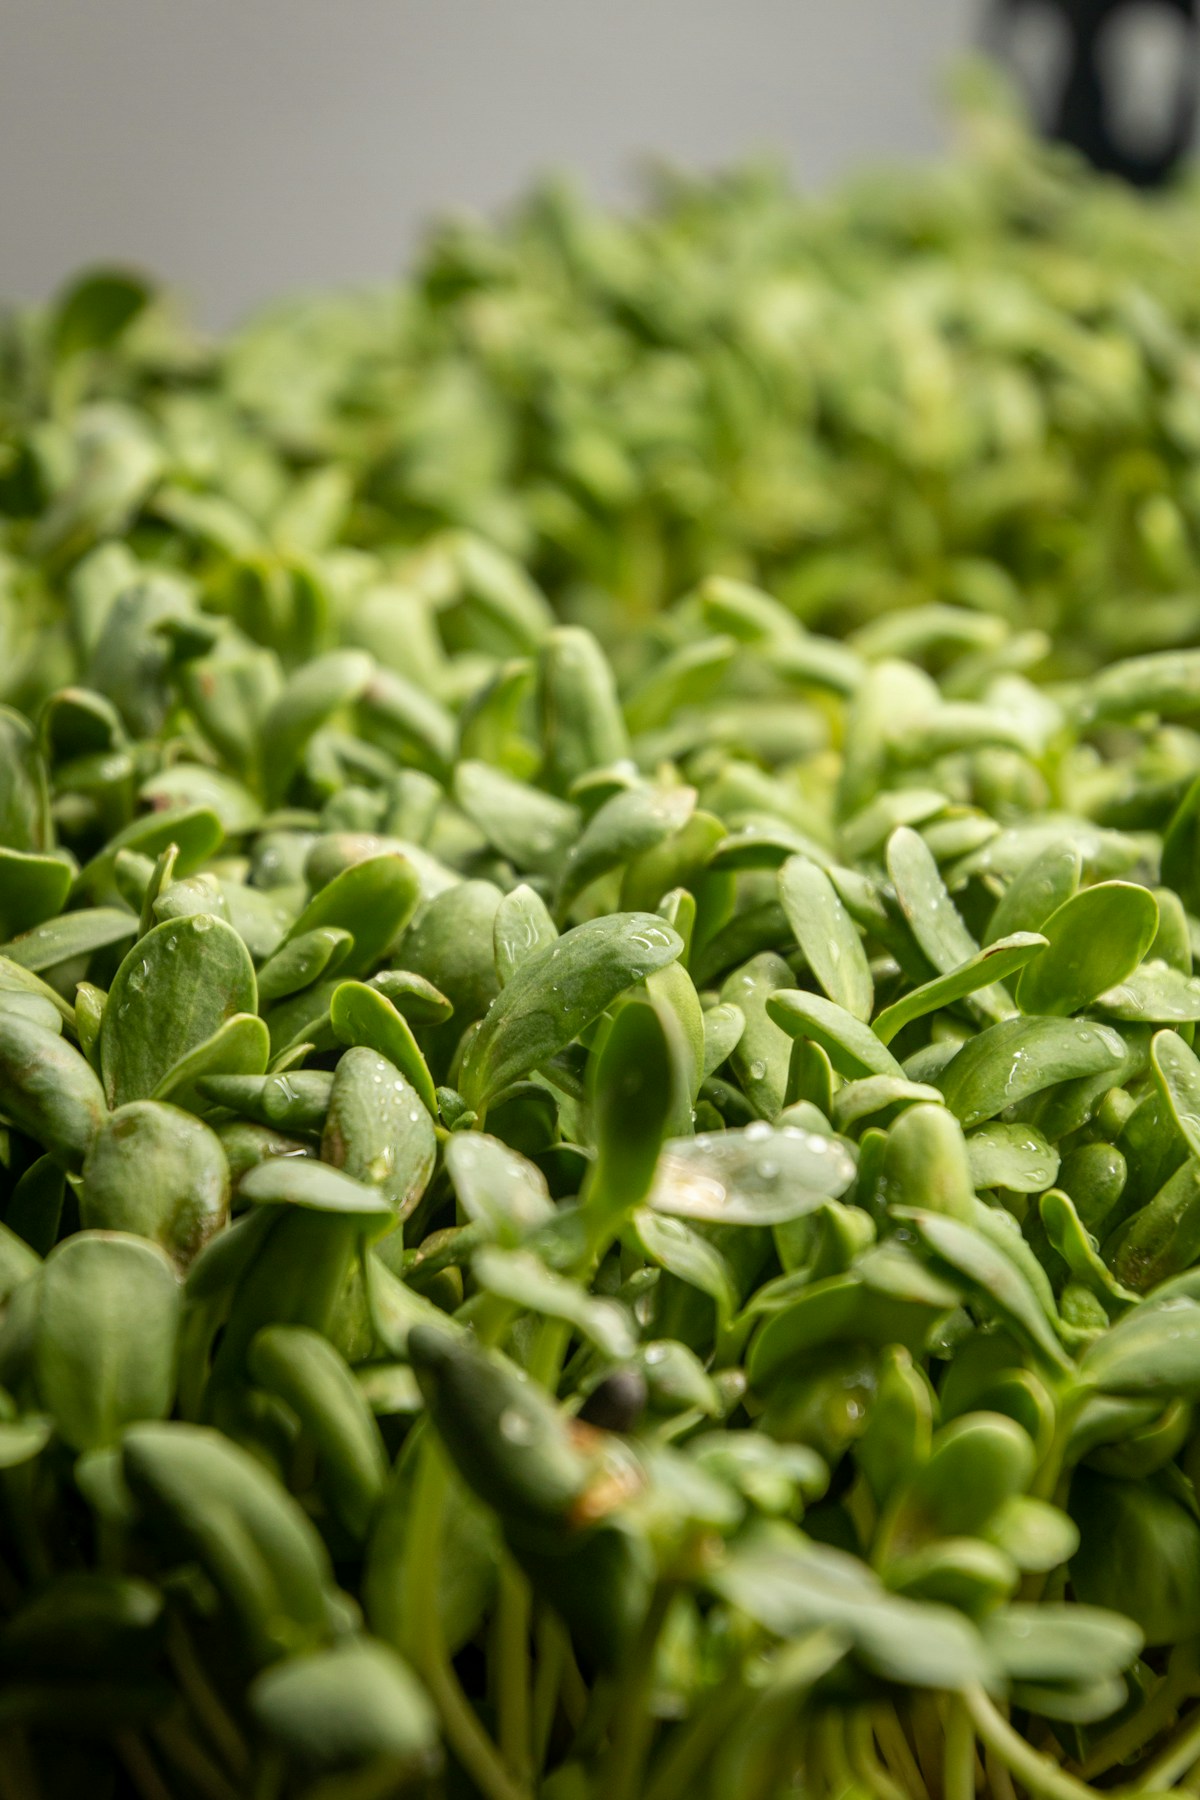
| Medium | Sunflower (hulled), amaranth | Yes, 4–6 hours | 60–80g |
| Large | Peas, fava beans, wheat | Yes, 8–12 hours | 100–150g |
Sowing steps:
- Fill tray with 2–3cm of growing medium (coconut coir, peat-free compost, or purpose-made microgreen pads). Moisten thoroughly then allow to drain — medium should be damp, not waterlogged.
- Pre-soak large seeds as indicated. This significantly improves germination rate and uniformity. Drain and spread immediately.
- Distribute seeds evenly — a single layer, close but not overlapping for most varieties. Sunflower and peas can be single-layer with seeds touching.
- Mist the surface lightly and cover with an inverted tray or blackout dome. This creates the dark, humid environment that promotes even germination.
- Stack trays if possible — the weight improves contact between seeds and medium, reducing curved or leggy growth.
How do you nurture microgreens during the blackout and growth phases?
Days 1–3 (Blackout phase): Keep covered, at room temperature (18–24°C). Check daily — lift the cover briefly to mist if the surface appears dry. Do not overwater; sitting moisture causes damping off.
Days 3–5 (Light introduction): Once seeds have germinated and etiolated (pale yellow-white shoots appear beneath the cover), remove the blackout cover and introduce light. The seedlings will green up within 12–24 hours of light exposure.
No nutrients are required for most microgreen systems. The seed contains all the energy and nutrients the seedling needs to reach harvest stage. Adding fertiliser to microgreen trays increases mould risk without measurable yield benefit in the cotyledon-harvest window.
Bottom watering: Pour water into a second tray beneath the growing tray and allow it to wick up. This is the single most effective mould prevention technique — it keeps the surface dry while maintaining root zone moisture. Water the surface only at initial sowing.
Airflow: Run a small fan near trays if growing in a humid room. Air movement is the primary defence against mould in dense microgreen plantings.
How do you prevent mould in microgreen trays?
Mould is the most common microgreen failure mode. The conditions that cause it are predictable and preventable:
- Overwatering: Surface moisture encourages mould. Use bottom-watering exclusively after sowing.
- Insufficient airflow: A fan running at low speed, directed to circulate air (not blasting directly at trays), dramatically reduces mould.
- Overly dense seeding: Especially with mucilaginous seeds like basil and flax — these form a gel coat that retains surface moisture. Use lower density.
- High temperature: Above 24°C accelerates mould alongside growth. Keep trays at 18–22°C.
If white fuzz appears, examine it: mould is grey-green or black; root hairs on many varieties (radish, sunflower) appear as white fuzz on stems — this is normal and harmless.
When and how do you harvest microgreens?
The harvest window varies significantly by variety. Cutting too early reduces yield; cutting after the first true leaf appears is acceptable but changes flavour.
| Variety | Days to Harvest (approx.) | Flavor Profile | Notable Nutrition |
|---|---|---|---|
| Radish | 6–8 | Spicy, peppery | Antioxidants (anthocyanins in daikon) |
| Sunflower | 8–10 | Nutty, substantial | Complete protein (7g per 100g) |
| Pea shoot | 10–14 | Sweet, fresh | Vitamin C (100mg per 100g — 110% DV) |
| Broccoli | 7–10 | Mild, slightly bitter | Sulforaphane (see nutrition section) |
| Mustard | 7–9 | Hot, wasabi-like | Glucosinolates |
| Cress | 5–7 | Sharp, peppery | Vitamin C, iodine |
| Amaranth | 8–12 | Earthy, mild | Complete amino acid profile |
| Basil | 12–16 | Aromatic, sweet | Volatile oils (flavour compounds) |
| Beet | 10–14 | Earthy, mild sweetness | Betalains (red pigment antioxidants) |
| Chia | 5–8 | Mild | Omega-3 ALA, calcium |
| Kale | 8–12 | Mild brassica | Vitamins K, C, glucosinolates |
| Corn | 8–12 | Sweet, mild | Lutein and zeaxanthin |
Harvest technique: Use sharp scissors or a clean blade. Cut 0.5–1cm above the growing medium surface — cutting too low picks up grit; cutting too high wastes yield. Harvest the entire tray in one cut; microgreens do not regrow reliably from cut stems (unlike some herbs).
What is the nutritional significance of microgreens?
Broccoli microgreens deserve particular attention. Sulforaphane, the compound that activates the Nrf2 pathway responsible for cellular antioxidant defence and has been studied extensively for cancer-preventive properties, is found in highest concentration in 3-day-old broccoli sprouts and microgreens. Mature broccoli contains sulforaphane precursors (glucoraphanin), but the enzymatic conversion to active sulforaphane is far more efficient in young tissue.
| Microgreen | Key Compound | Comparison to Mature Plant |
|---|---|---|
| Broccoli | Sulforaphane | 10–100× higher than mature heads |
| Red cabbage | Vitamin E | ~40× higher per gram |
| Sunflower | Complete protein | Comparable to hemp seed |
| Pea shoot | Vitamin C | 6× higher than mature peas |
| Radish | Anthocyanins | 3× higher than mature radish |
Frequently Asked Questions
Do microgreens regrow after cutting?
Why is my microgreen tray mouldy?
Which microgreens are most nutritious?
Some links in this article are affiliate links. If you purchase through them, we may earn a small commission — at no extra cost to you.