Quick Answer
A functional DIY aeroponic tower can be built for £60–£95 using a 4-inch PVC pipe column, a submersible pond pump, a simple manifold, and net cups — delivering nutrient mist to roots every 1–3 minutes around the clock. --- What Materials Do You Need to Build a DIY Aeroponic Tower? The following shopping list targets a 5-foot tower holding 20–28…
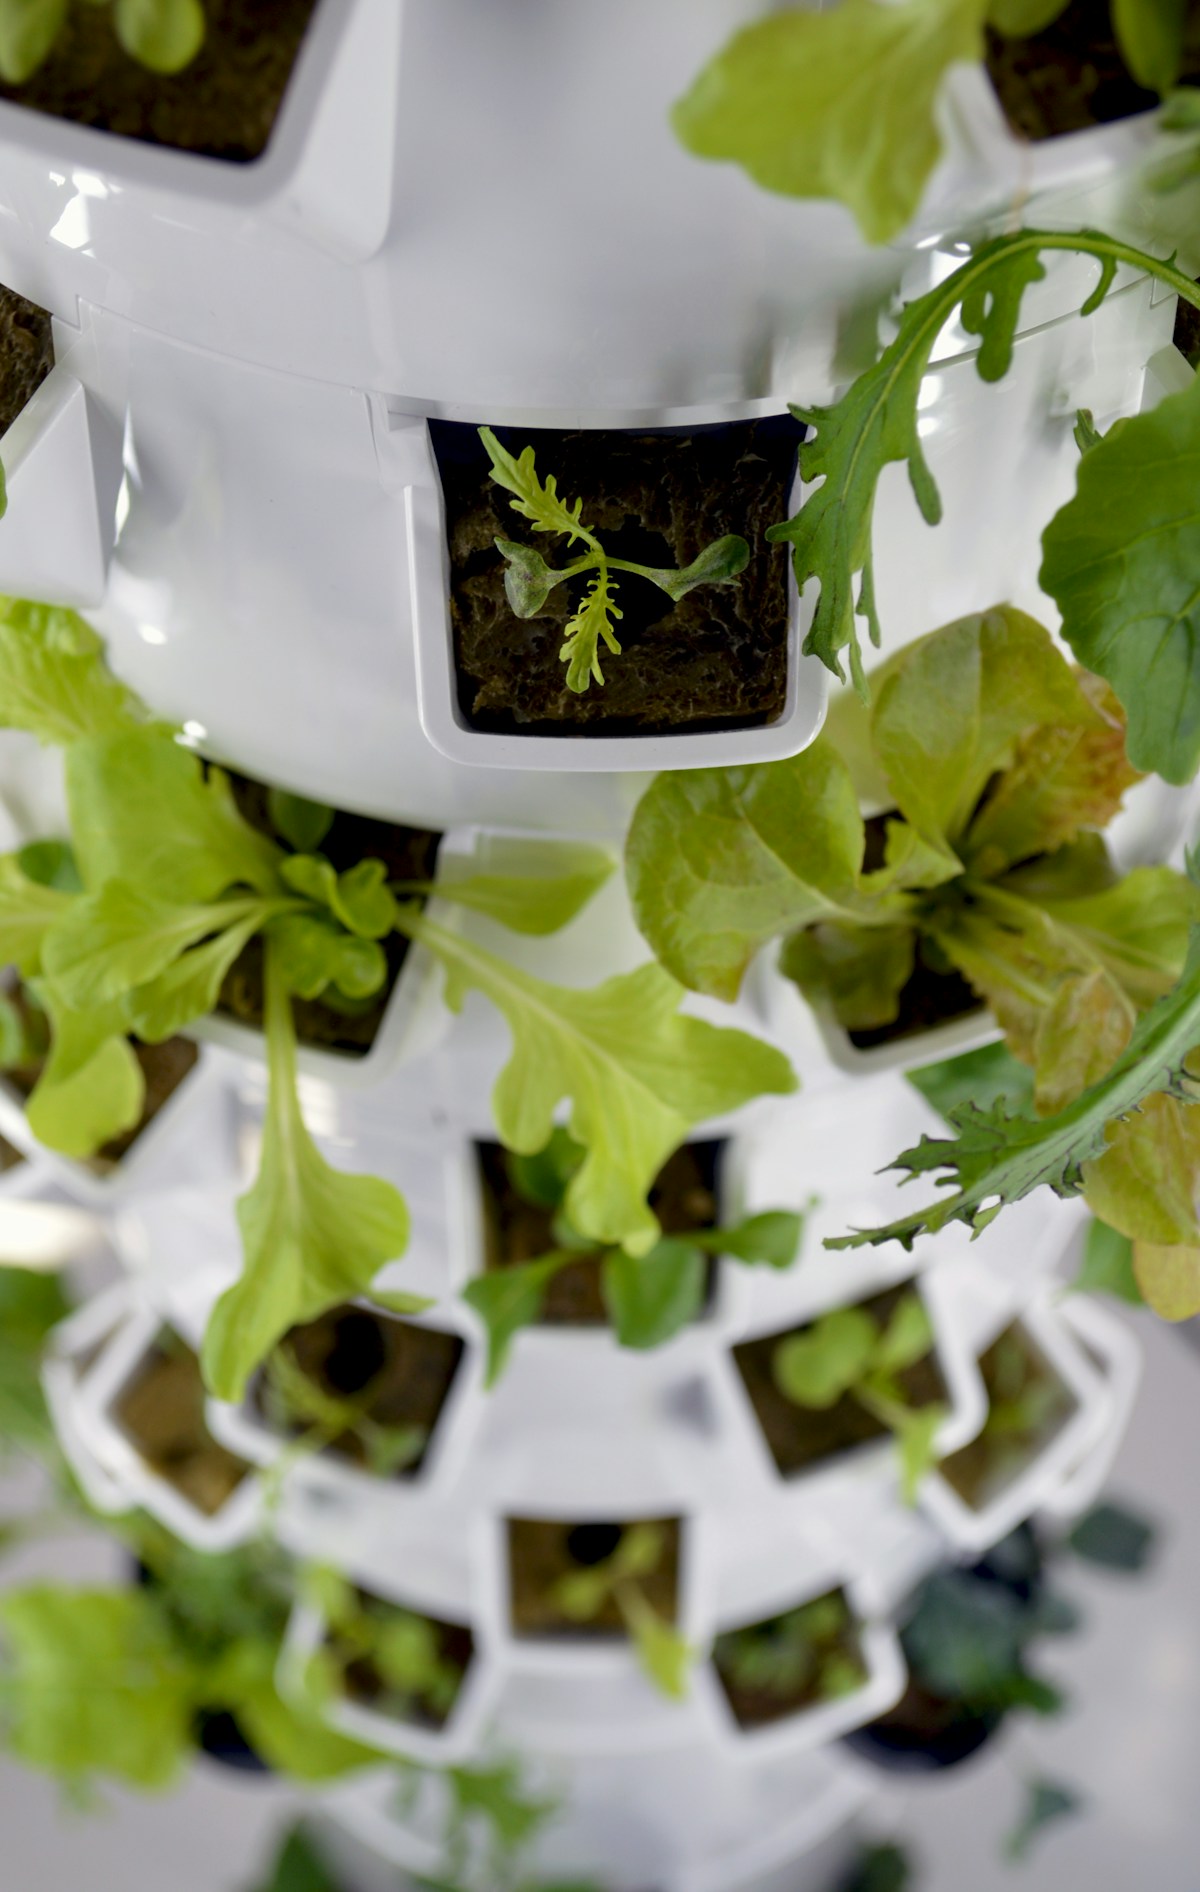
A functional DIY aeroponic tower can be built for £60–£95 using a 4-inch PVC pipe column, a submersible pond pump, a simple manifold, and net cups — delivering nutrient mist to roots every 1–3 minutes around the clock.
What Materials Do You Need to Build a DIY Aeroponic Tower?
The following shopping list targets a 5-foot tower holding 20–28 plant sites. All items are available at hardware stores, garden centres, or online marketplaces.
Structural Components
| Item | Spec | Approx. Cost |
|---|---|---|
| 4-inch PVC pipe | 5 ft length | $10–$15 |
| 4-inch PVC end cap | × 2 (top and bottom) | $4–$6 |
| PVC primer + cement | Small kit | $8 |
| 2-inch hole saw bit | For net cup holes | $8–$12 |
| 5-gallon bucket (reservoir) | With lid | $6–$8 |
Plumbing and Pump
| Item | Spec | Approx. Cost |
|---|---|---|
| Submersible pond pump | 200–400 GPH, 25 PSI max | $15–$25 |
| 1/2-inch ID vinyl tubing | 6 ft | $4–$6 |
| Barbed T-fittings | × 2–3 | $3–$5 |
| Spray emitters or drip stakes | × 4–6 | $5–$10 |
| Timer (outlet) | 15-minute interval capable | $8–$12 |
Growing Supplies
| Item | Spec | Approx. Cost |
|---|---|---|
| 2-inch net cups | × 28 | $5–$8 |
| Hydroton clay pebbles (or rockwool) | 2 L bag | $6–$10 |
| Hydroponic nutrient solution | Starter bottle | $10–$15 |
Total estimated cost: $92–$132. To stay under £100, source the pond pump from a discount retailer, reuse a food-safe bucket from a restaurant supply store (often free), and skip clay pebbles in favour of rockwool plugs for seedling starts.
How Do You Assemble the Tower Step by Step?
Step 1 — Cut the Plant Sites
Mark the PVC pipe for net cup holes in a spiral pattern: every 6 inches of height, rotated 120° around the circumference. This spacing gives each plant adequate light exposure and prevents overcrowding. Use a 2-inch hole saw to cut each opening. Deburr edges with sandpaper to avoid injuring roots.
Step 2 — Build the Internal Manifold
Cut a 1/2-inch CPVC or vinyl tube to run the full interior length of the PVC column. Drill small 1/16-inch holes every 4–6 inches along the tube, angled slightly to spray outward toward the inner wall. This is the misting manifold. Cap the bottom end with a plug or barbed end cap. The top connects to the pump feed line via a barbed fitting pushed through the top PVC cap.
Step 3 — Seal the Column
Cement the bottom end cap permanently with PVC primer and cement. The top cap should remain removable (use a friction fit or a threaded cleanout adapter) for future maintenance access. Drill a 1/2-inch hole in the top cap for the manifold feed line entry.
Step 4 — Set Up the Reservoir and Pump
Place the 5-gallon bucket below or beside the tower. Mount the submersible pump in the bucket. Run 1/2-inch vinyl tubing from the pump up into the top of the tower column, connecting to the internal manifold. Add a return drain at the base of the tower column — a 3/4-inch hole with a barbed fitting draining back to the reservoir bucket completes the closed loop.
Step 5 — Wire the Timer
Plug the pump into the mechanical outlet timer. Set the timer to run for 1–2 minutes on, 3–5 minutes off (a 15-minute-interval timer provides the closest cycle to this). For 24/7 operation, this misting interval keeps roots moist without drowning them.
Step 6 — Test Before Planting
Fill the reservoir with plain pH-adjusted water (pH 6.0). Run the pump and observe: every net cup hole should receive visible mist or light spray from the manifold holes. Adjust the drilled hole angles if coverage is uneven. Check for leaks at all connections. Run for 24 hours before introducing plants.
How Do You Plant and Maintain the Tower?
Starting Plants
Germinate seeds in rockwool cubes or rapid rooter plugs in a separate tray with humidity dome until roots emerge from the plug base (5–10 days for lettuce and herbs). Do not transplant bare seeds directly into net cups — the root zone must remain consistently moist before the tower's mist cycle can sustain the plant.
Insert the rooted plug into a net cup filled with rinsed clay pebbles, then seat the net cup in the tower hole. The clay pebbles stabilise the plant and allow mist to reach the root zone.
Nutrient Schedule
| Growth Stage | EC Target | pH Range | Nutrient Mix |
|---|---|---|---|
| Seedling (week 1–2) | 0.8–1.2 mS/cm | 5.8–6.2 | 1/4 strength |
| Vegetative (week 2–5) | 1.4–2.0 mS/cm | 5.8–6.2 | Full strength |
| Fruiting / finishing | 1.8–2.4 mS/cm | 6.0–6.5 | Full + cal-mag |
Top up the reservoir with plain pH-adjusted water daily to compensate for evapotranspiration. Perform a full reservoir flush and nutrient change every 10–14 days to prevent salt buildup and pathogen accumulation.
Ongoing Maintenance
- Weekly: Check pH and EC, inspect net cup holes for algae growth (cover exposed cups with light-blocking tape or caps)
- Bi-weekly: Full nutrient solution change, rinse reservoir
- Monthly: Remove and inspect the internal manifold; flush with dilute hydrogen peroxide (3 mL of 3% H₂O₂ per litre) to prevent biofilm
What Can Go Wrong and How Do You Fix It?
Uneven misting: If some net cups receive no mist, the manifold holes nearest the pump intake are too large, stealing pressure from upper holes. Re-drill all holes to a uniform small diameter (1/16 inch) and add a pressure regulator if using a more powerful pump.
Root rot: Caused by insufficient drainage or over-long pump cycles. Ensure the bottom drain hole is unobstructed and shorten mist-on time to 1 minute maximum.
Algae in reservoir: Cover the bucket with an opaque lid and wrap the PVC column in black poly film to block all light entry. Algae requires light to grow; eliminate light and algae cannot establish.
Pump failure: Always keep a spare pump rated the same GPH. Tower plants can die within hours if misting stops in warm conditions. Set a phone alert to check the system twice daily.
Frequently Asked Questions
Can I use a 3-inch PVC pipe instead of 4-inch to save money?
How many plants can a single 5-foot tower support?
Do I need a grow light for an indoor tower?
Some links in this article are affiliate links. If you purchase through them, we may earn a small commission — at no extra cost to you.